Table of Contents
Key Takeaways
- Composting transforms kitchen scraps and yard waste into nutrient-rich soil amendment that improves garden health naturally
- The ideal carbon-to-nitrogen ratio of 30:1 is maintained by layering brown materials (leaves, cardboard) with green materials (kitchen scraps, grass clippings)
- Hot composting with regular turning produces finished compost in 3 to 6 months; cold composting takes 6 to 12 months with less effort
- Proper aeration and moisture levels are essential for preventing odors and attracting pests to your compost pile
- Finished compost should smell earthy, look dark and crumbly, and support robust plant growth when mixed into garden soil
Understanding the Science of Composting
Composting is not merely piling up organic waste and waiting for it to break down. It is a managed biological process driven by billions of microorganisms including bacteria, fungi, and actinomycetes that consume organic matter and convert it into stable, nutrient-rich humus. These microorganisms require four essential elements to thrive: carbon for energy, nitrogen for protein production, oxygen for respiration, and moisture for metabolic processes. When these elements are present in proper balance, the composting process generates significant heat, with internal pile temperatures reaching 130 to 160 degrees Fahrenheit in active hot composting systems.
The carbon-to-nitrogen ratio is the single most important factor determining compost quality and decomposition speed. Carbon-rich materials, commonly called browns, include dried leaves, straw, wood chips, and shredded cardboard. Nitrogen-rich materials, called greens, include vegetable scraps, coffee grounds, grass clippings, and fresh plant trimmings. The ideal C:N ratio is approximately 30 parts carbon to 1 part nitrogen by weight. This ratio provides microorganisms with enough energy from carbon sources while ensuring sufficient nitrogen for rapid population growth and efficient decomposition.
Oxygen availability is equally critical for aerobic composting. When oxygen is present, aerobic bacteria break down organic matter quickly and produce only carbon dioxide, water, and heat as byproducts. When oxygen is depleted, anaerobic bacteria take over, producing foul-smelling compounds including methane, hydrogen sulfide, and putrescine. This is why proper pile aeration through regular turning or passive airflow systems is essential for odor-free composting. According to the Wikipedia article on composting, maintaining moisture levels equivalent to a wrung-out sponge (roughly 40 to 60 percent moisture content) creates optimal conditions for microbial activity while preventing anaerobic pockets from forming.
Choosing the Right Composting Method
The best composting method for your situation depends on the amount of waste you generate, available outdoor or indoor space, and how quickly you want finished compost. Hot composting, also known as active composting, is the fastest method and produces finished compost in as little as three months. It requires building a pile at least three feet cubed, maintaining the proper C:N ratio, turning the pile every three to seven days, and monitoring moisture levels. The high temperatures generated by active microbial activity kill weed seeds and plant pathogens, making hot compost particularly valuable for garden use.
Cold composting is a passive approach where you simply add materials to a pile or bin as they become available and let nature handle the decomposition process. This method requires less effort and no turning, but takes significantly longer (6 to 12 months) and does not generate enough heat to kill weed seeds or pathogens. Cold composting works well for gardeners with abundant space and patience, but requires more careful material selection to avoid attracting pests.
For apartment dwellers and those without yard space, vermicomposting offers an indoor solution using red wiggler worms (Eisenia fetida). These worms consume fruit and vegetable scraps, coffee grounds, and shredded paper, producing nutrient-rich worm castings that are among the most valuable soil amendments available. A worm bin suitable for a family of four fits comfortably under a kitchen sink and produces no odors when maintained correctly. Bokashi composting is another indoor-friendly option that uses anaerobic fermentation to break down food waste, including meat and dairy that cannot go into traditional compost piles.
What to Compost and What to Avoid
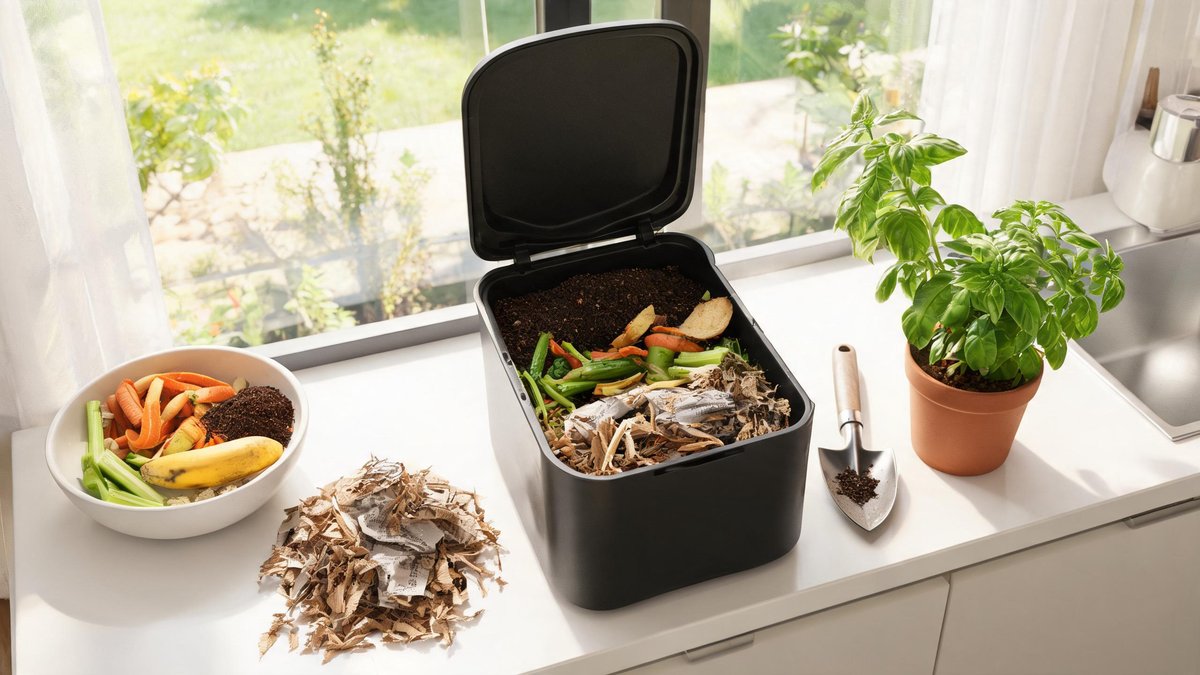
Understanding which materials belong in your compost pile and which should stay out is essential for producing quality compost and avoiding problems. Excellent compostable materials include fruit and vegetable scraps, eggshells, coffee grounds and filters, tea bags, grass clippings, dried leaves, straw, wood chips, sawdust from untreated wood, shredded cardboard and paper, and garden trimmings. These materials provide the balanced mix of carbon and nitrogen that microorganisms need for efficient decomposition.
Materials to avoid include meat, fish, and poultry products, which attract rodents, flies, and other pests while producing strong odors as they decompose. Dairy products and oily foods create similar problems and break down slowly in home compost systems. Diseased plant material and invasive weeds should stay out to prevent spreading problems when you use the finished compost. Pet waste from cats and dogs may contain pathogens that home composting does not reliably eliminate. Treated wood products, glossy paper, and coal ash contain chemicals that can contaminate your compost and harm plants. Finally, avoid adding large quantities of any single material, as this disrupts the C:N balance and slows decomposition.
Building and Maintaining Your Compost Pile
Building a successful compost pile is straightforward when you follow a few key principles. Start by choosing a location with good drainage and partial shade, which helps maintain consistent moisture levels. Begin your pile with a 4 to 6 inch layer of coarse brown materials like small branches or straw to promote airflow from the bottom. Alternate layers of brown and green materials, aiming for roughly three parts browns to one part greens by volume. Each layer should be 2 to 4 inches thick. Water each layer as you build to achieve the consistency of a wrung-out sponge throughout the pile.
Active maintenance primarily involves turning the pile to introduce oxygen and redistribute materials. For hot composting, turn the pile every three to seven days using a pitchfork or compost aerator tool. Each turn should move materials from the outside to the center and from the bottom to the top, ensuring even decomposition. Monitor internal temperature with a compost thermometer, aiming for 130 to 150 degrees Fahrenheit. If the pile exceeds 160 degrees, turn it immediately to prevent killing beneficial microorganisms. If the temperature remains below 100 degrees after several weeks, the pile likely needs more nitrogen or moisture.
Troubleshooting Common Composting Issues
Even experienced composters encounter problems from time to time, but most issues have simple solutions. A bad smell, particularly ammonia or rotten egg odors, indicates too much nitrogen or insufficient oxygen. Add more brown materials like dried leaves or shredded cardboard and turn the pile thoroughly. If the pile is soggy and smells, cover it during rain and add dry absorbent materials. A pile that is dry and not decomposing needs water and additional green materials. Turn the pile while watering each layer until moisture is evenly distributed.
Pests such as rodents, flies, and ants indicate that inappropriate materials have been added or the pile is improperly managed. Remove any meat, dairy, or oily foods and ensure the pile is covered with a layer of brown materials or a secure lid. Turning the pile more frequently disrupts pest habitats and speeds decomposition, reducing the window of opportunity for pests. If fruit flies become problematic, bury fresh kitchen scraps under at least 6 inches of brown materials. For persistent ant problems, check that the pile is moist enough and consider relocating it away from ant colonies.
Using Finished Compost in Your Garden
Finished compost is ready when it looks dark and crumbly, smells pleasantly earthy, and the original materials are no longer recognizable. The composting process reduces the original volume by roughly 50 percent, so do not be alarmed if your pile shrinks significantly. Before using, screen the compost through a half-inch mesh to remove any large particles that need more time to decompose. These larger pieces can be returned to a new compost pile for further processing.
Compost improves garden soil in multiple ways. It enhances soil structure by improving drainage in clay soils and water retention in sandy soils. It provides a slow-release source of essential plant nutrients including nitrogen, phosphorus, and potassium, along with beneficial trace minerals. Compost supports healthy microbial and earthworm populations that continue breaking down organic matter and making nutrients available to plants. Apply a 1 to 3 inch layer of compost to garden beds each spring and fall, working it gently into the top few inches of soil. For container plants, mix compost with potting soil at a ratio of one part compost to three parts potting mix. Compost also makes an excellent top dressing for lawns, applied at a rate of roughly one quarter inch spread evenly across the grass.